I started this tank around 5 months ago, give or take. I bought a used 90g re-did the 'factory silicone' (not sandwich) and built a custom stand.
For the rock I decided to go with bulk reef supply rock. I called said I wanted to make two islands with shelves - they hand picked this stuff for me! Luckily the representative I was speaking to also ran a 90g reef and knew the exact size rocks I needed (great company)!
The tank is running BB with some HDPE from usplastic.com (also a great company).
The plan was to go extremely high flow sps and polyps. So far it has been pretty successful.
Equipment:
90g DT 30L Sump
7x54 Aquactinics Constellation (sitting directly on top of the tank)
2x Tunze 6100's
2x Koralia 3
1x 1000 gph return
Octo Extreme (MSX) 200 Skimmer
BRS dual reactor
Litermeter III w/remote pump
Spectrapure ultra-precise auto top-off unit - currently topping off with saturated limewater 24/7
I suppose I should first go through some of the tank build:
Rock build:
This is the outcome of my 100lb order from bulkreefsupply.com. The august promotion was a free 10lbs with 100lbs purchase. Each box ended up weighing 60 lbs.
Here are all of the rocks laid out. I asked them to just pick out some for a 90g reef with an aquascape of two large islands and some shelfs. I must say that I could not be more pleased. The rock is EXTREMELY clean (I could probably eat off of these things). I will probably cook them for awhile anyways just to see if anything comes off.
For reference the rug they are on is a little bit larger than 4ft x 6ft and I also have two 36" rules laid out.


Islands have arrived!
Right Island:

Do not even ask how that 17" shelf rock is support itself because I can not answer this question. The shelf has about 3 inches of clearance on both sides and is aimed right into the center of the tank, covering over the center area not taken up by the two islands.
Left Island:

The island took awhile to put together, the angle is a bit off so you cant see the little cave in the bottom very well. The flash dosent do the rock much justice, but I am pretty happy with these two islands so far. I have the rocks numbered so I have some aid when drilling/siliconing them together.
Next step, practice drill and test of my support rods (just under 3/8 inch)
After considering many different materials I ended up going with these orange plastic driveway markers (2 bucks each). They are incredibly rigid and I was unable to break them in the store. i painted them with a krylon fusion plastic paint.
Using a 3/8 masonry bit, chewed right through some fiji. Luckily the rod fits just well enough to get some silicone in there.


topdownish:

This all went much more smoothly than I could have imagined. I am glad I used such a thin rod, it made it very easy to accomplish.
The next step was to build a tank stand to hold the 90g. I wanted something a bit more modern and the old style was just not going to work. So far I have it framed up and need to skin it and add some doors. I was afraid the stand would not be level or have other structural issues but it turned out to be amazingly rigid and very level. Luckily I have a full blown wood/foam/welding/rapid prototyping/whoknowswhatelse shop within a 3 minute walk from my apartment (at my college).
This is how the stand turned out. I made it out of 2x6 and 2x4 board using plain deck screws, oh, and a neat little invention that made the stand I needed possible, the pocket hold jig.


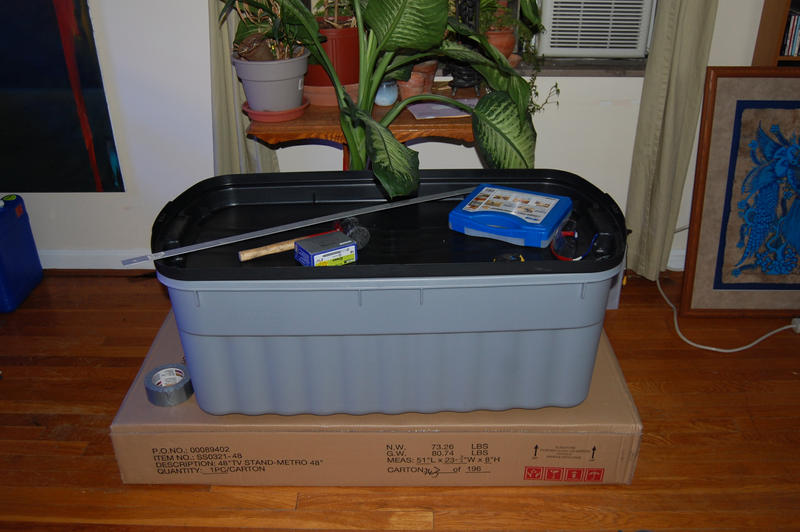
For cooking the rock I had a hard time finding a container that would keep my islands safe. I really did not want to break my nice shelf pieces if I stacked them in a garbage can. I ended up finding this tub that has similar dimensions of a 55g tank. I will start cooking soon, I did silicone on Saturday and I am not sure how long it will take to cure because in some spots I really globbed in the rock structure to hold stuff nicely. Right now it just has various tools on top and its in my living room:
The frame was made of 2x4's and 2x6's. It was skinned with three panels of 1/4" birch plywood and painted with two coats of primer, two coats of oil based black stain, then two coats of clear stain poly. I used a wet sanding technique with 600 grid paper and a squirt bottle between coats to get everything nice and smooth. The trim is just stuff from Lowes miter cut to fit the stand.
If you want any more details feel free to PM me.
Here are some pics without the doors on yet:


Finished Stand:

Sump build:
The silicone is kind of messy but everything holds, Ill have to razor blade some off later on.
The skimmer takes up mass room!

Top down:

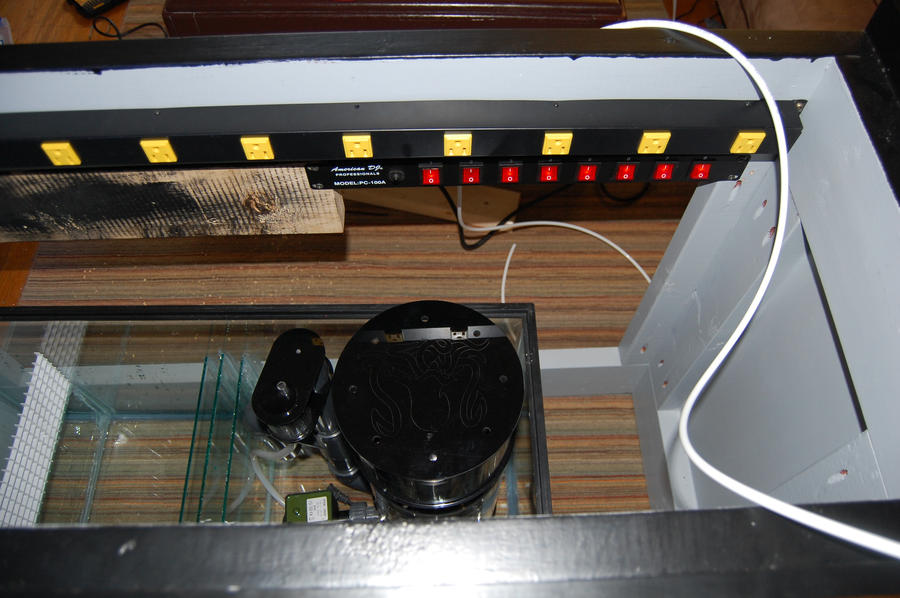
I used the DJ powerstrip with the switches and a 40" long powerstrip for all of my timers, this way none of the timer units will get in the way of each other! On the back of the stand I have hooks so that none of the wires will be stretching across the back opening. The big powerstrip on top is plugged into the number "1'" switch on the DJ powerstrip. This way the DJ is the master control unit.
I am still kind of debating on where to mount my litermeter stuff at. I am thinking about using the velcro to mount all three pumps on the 2x6 piece of wood that I am holding the main unit up against in the picture:

Top down shot:
More equipment shots and wiring:


Rock in tank:

With water:


A few early shots of the tank:


Older tank Shot (all that algae is gone):

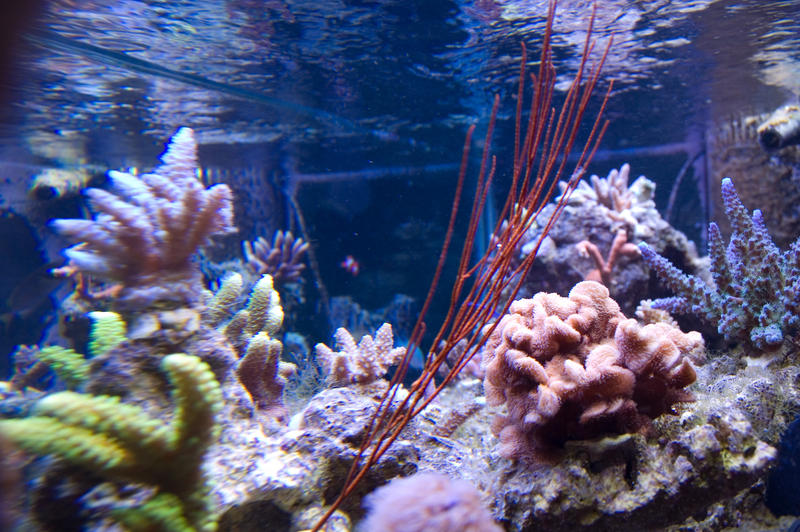
Some coral shots and perspectives:
cali tort

kwiw zoas?

purple tip acro

green trumpet - about a year growth from three heads from frogfish

green cyphastrea

right tank shot

middle shot

my GARF...still coloring up but encrusting well

abstract shot
New coral:

Well thats most of the build and my tank shots from around a month ago....more to come when I get some time!!!